New? Start Here
About
Contact
Blog Freebies
Dashboard
Register
Dashboard
Register
Unlock LIFETIME Vault Downloads!
Free Digital Scrapbook Paper
Clip Art
SVG Files
Search
Unlock LIFETIME Vault Downloads!
Free Digital Scrapbook Paper
Clip Art
SVG Files
Search
Newest Freebies
Free Instant Downloads
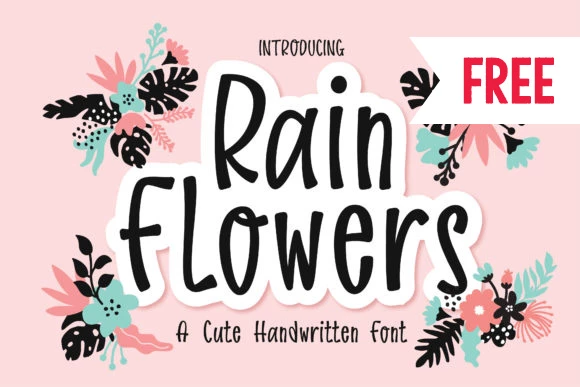
Rain Flowers Font
$0.00
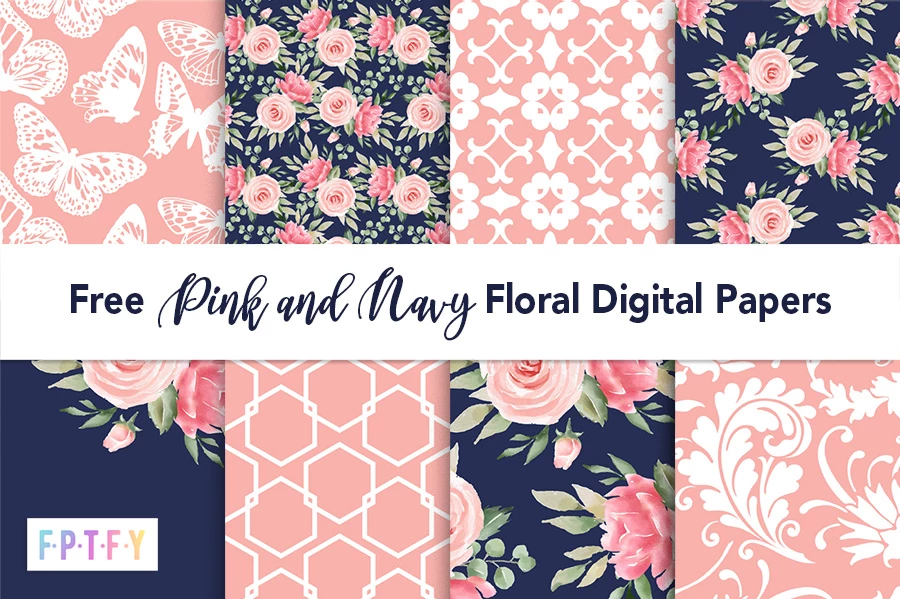
8 Pink and Navy Floral Digital Papers
$0.00
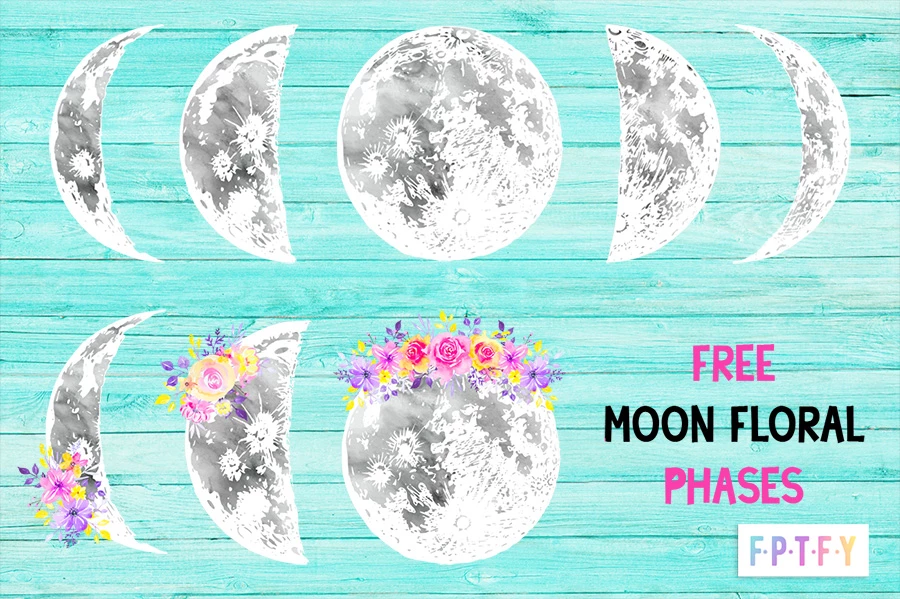
11 Free Moon Floral Phases Clip Art
$0.00
4 Free Paint Brush Stroke Digital Papers
$0.00
4 Free Colorful Animal Print Digital p...
$0.00
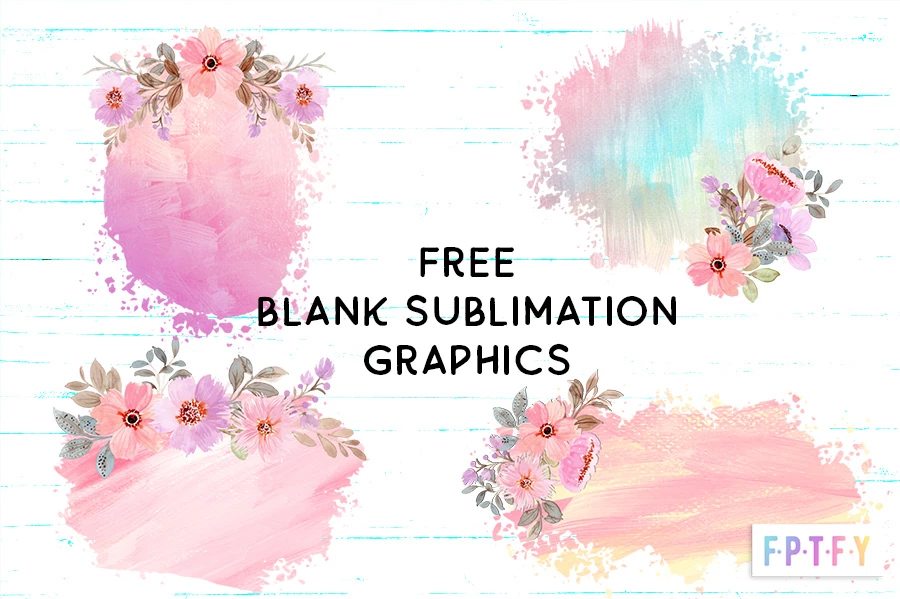
4 Free Blank Pink Sublimation Graphics
$0.00
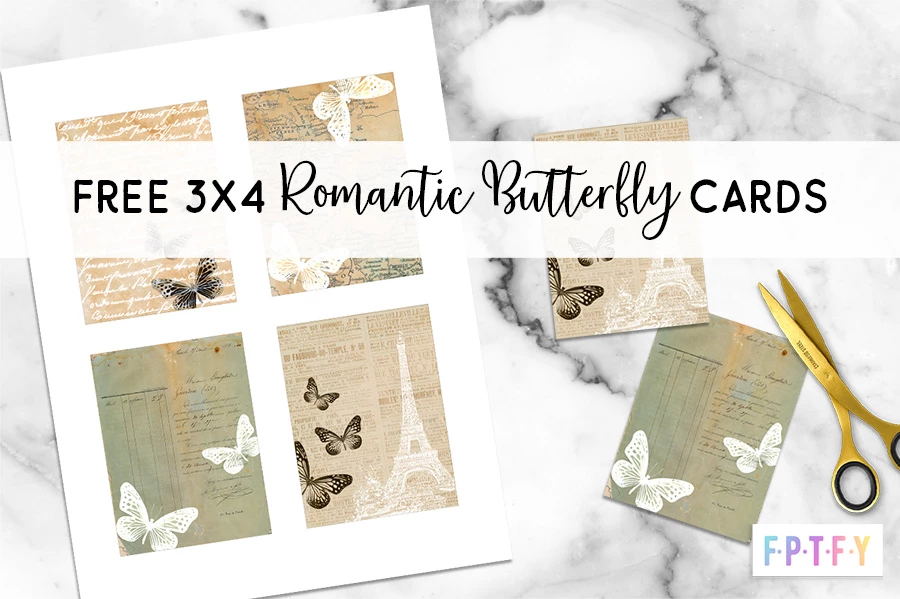
Free 3×4 Romantic Butterfly Cards
$0.00
10 Free Jewel Tone Wood Digital Backgr...
$0.00
6 Free Rainbow Space Hologram Digital...
$0.00
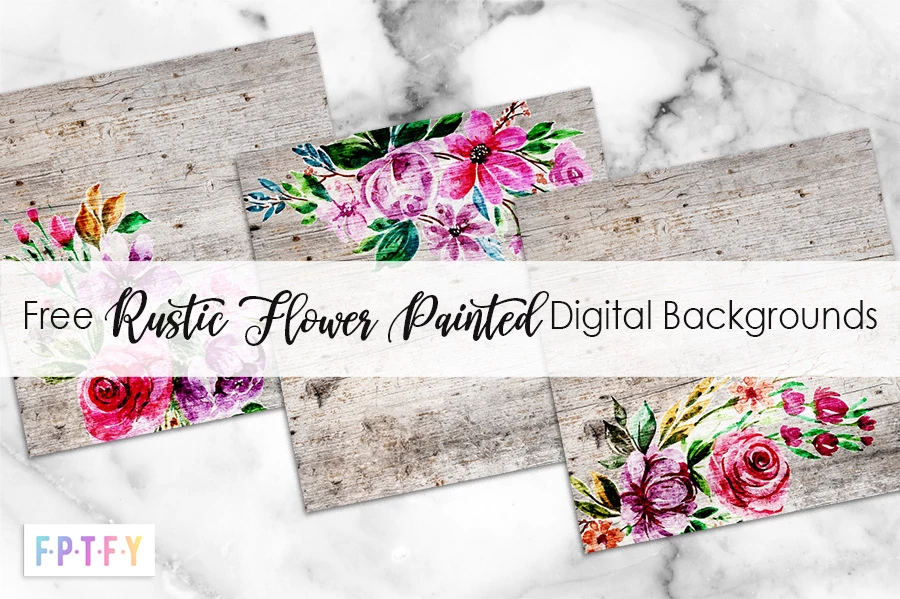
3 Free Rustic Painted Digital Backgrou...
$0.00
6 Free Golden Stencil Swirl Graphics
$0.00
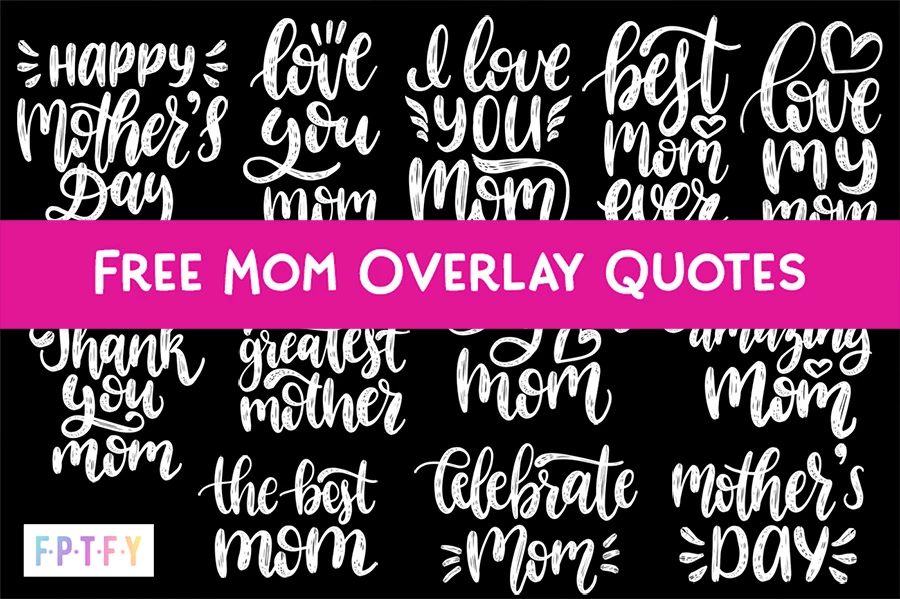
12 Free Mom Overlay Quotes
$0.00
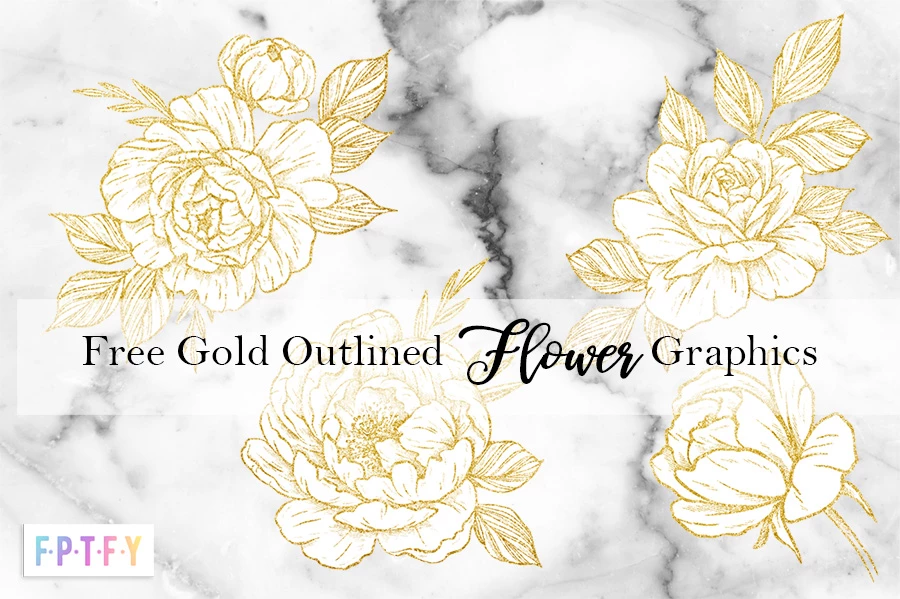
5 Free Gold Outlined Flower Graphics
$0.00
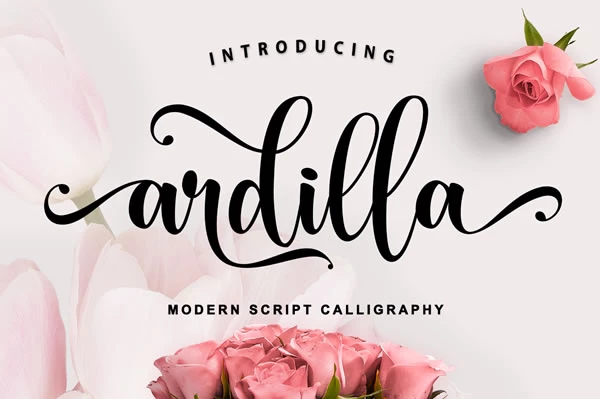
Free Ardilla Handwritten Script Font
$0.00
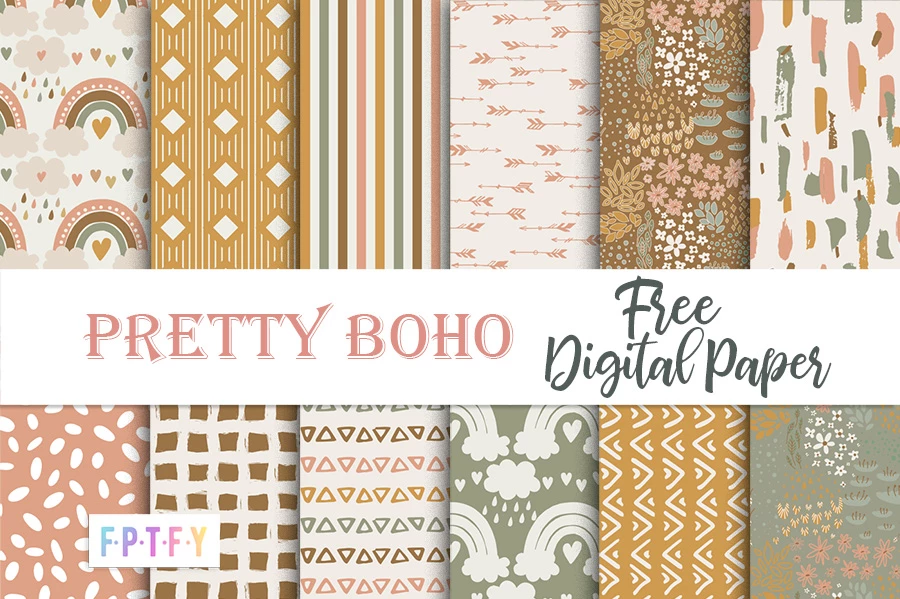
12 Free Pretty Boho Digital Papers
$0.00
Free Proverbs 31 She Works Willingly W...
$0.00
12 Free Dusty Rose Gold Digital Paper
$0.00
8 Free Pretty Altered Art Ball Jars
$0.00
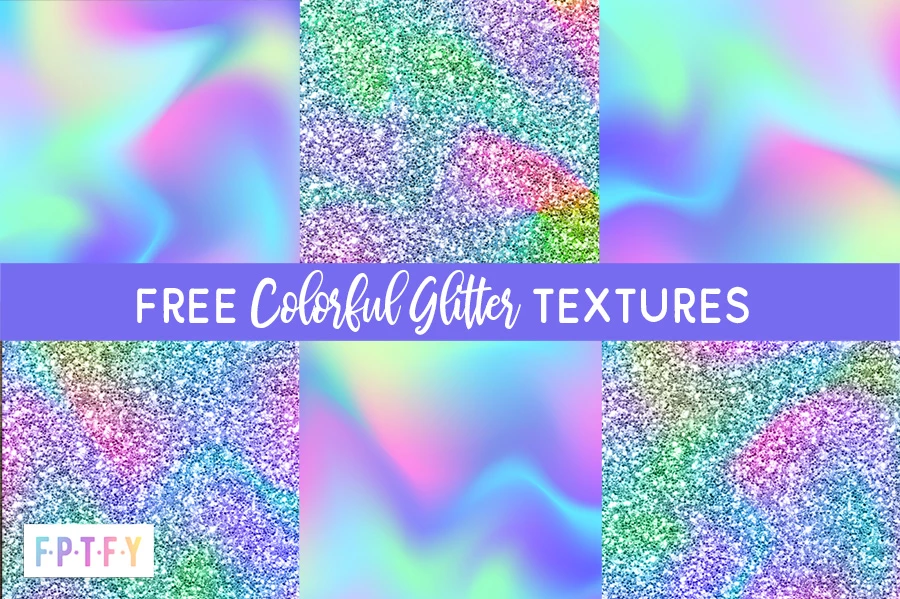
6 Free Colorful Glitter Textures
$0.00
35 Free Wedding Role Designs
$0.00
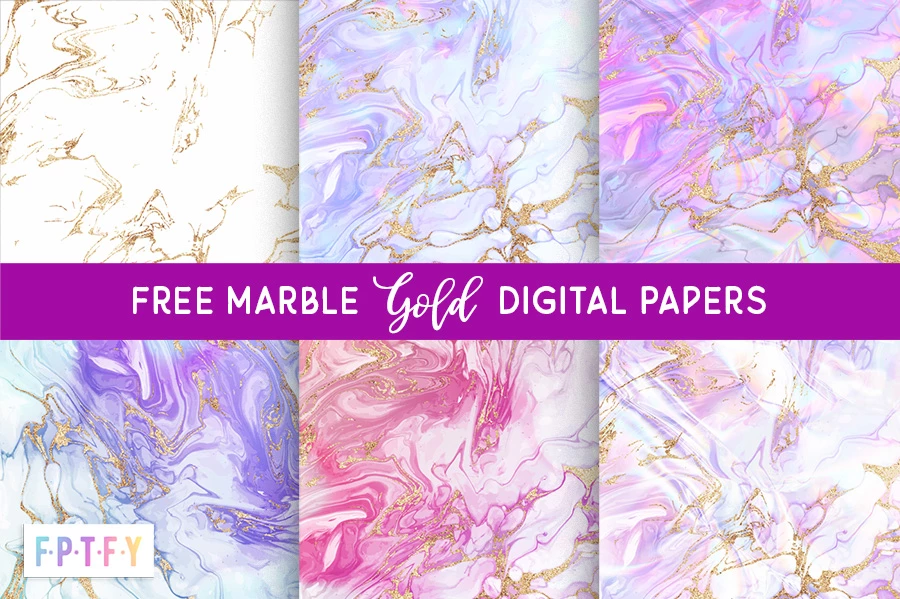
6 Free Marble Gold Digital Papers
$0.00
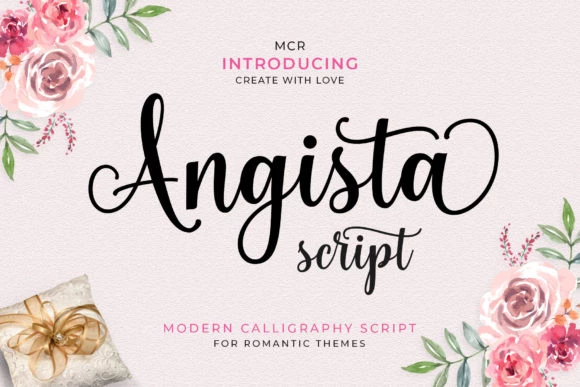
Free Angista Script Font
$0.00
5 Free Pink Garden Rose Wood Digital B...
$0.00
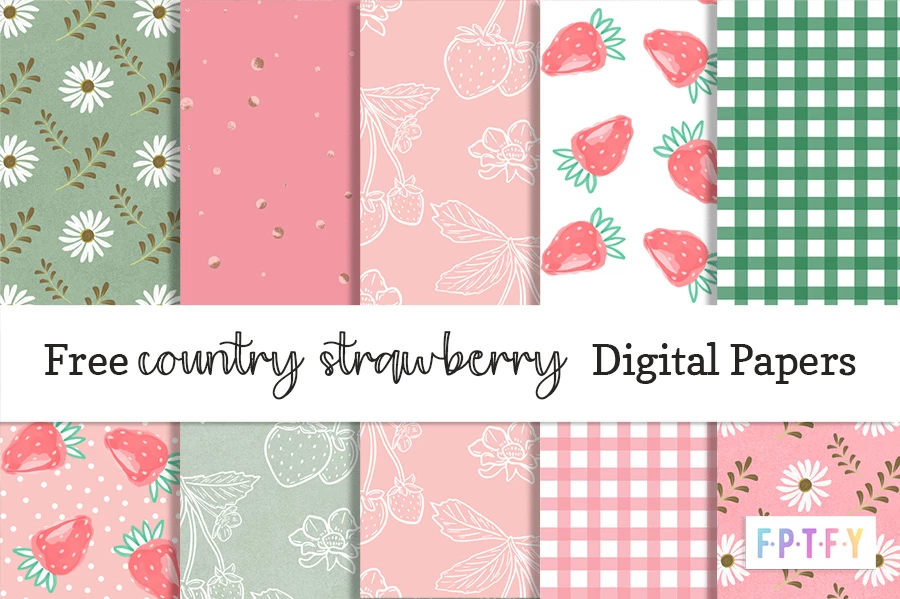
11 Free Country Strawberry Digital Paper
$0.00
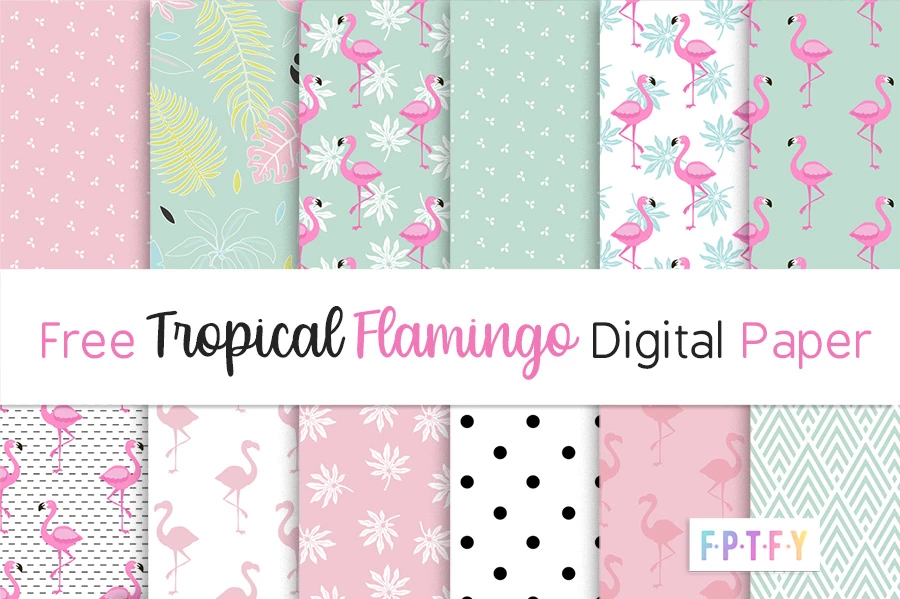
14 Free Tropical Flamingo Digital Paper
$0.00
6 Free LACE Doilies Mason Jars Clip Art
$0.00
6 Free Iridescent Gold Paint Brush Str...
$0.00
ALL FREE COLLECTIONS HERE
Newest Premium Collections
Premium Member Vault Downloads ↓
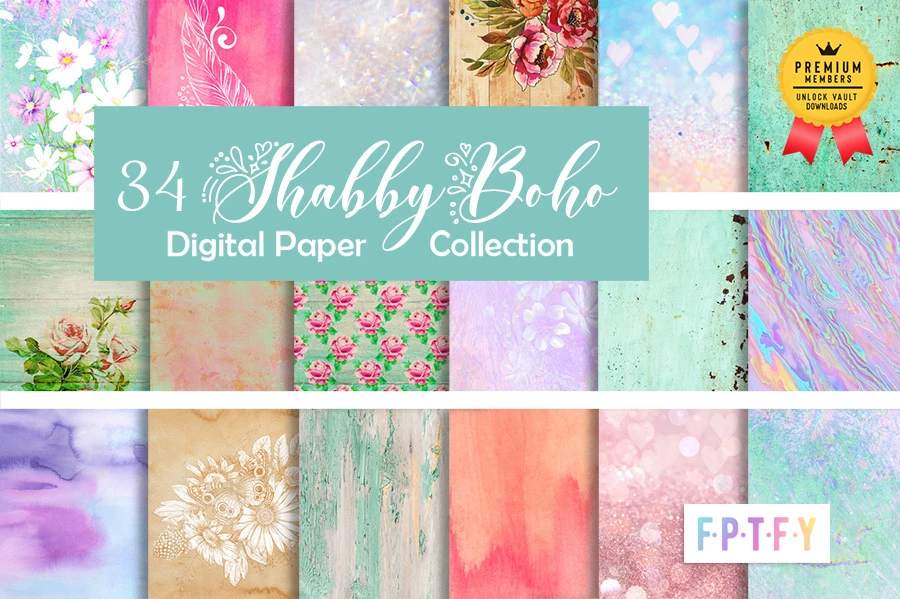
34 Shabby Boho Digital Papers
$0.00
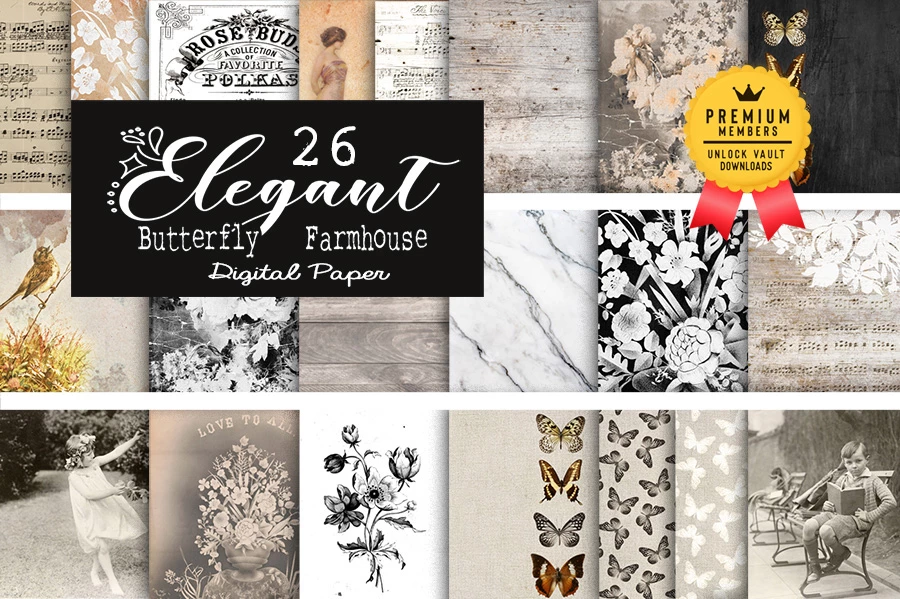
26 Elegant Butterfly Farmhouse Digital...
$0.00
Twin Vintage Kitty Images
$0.00
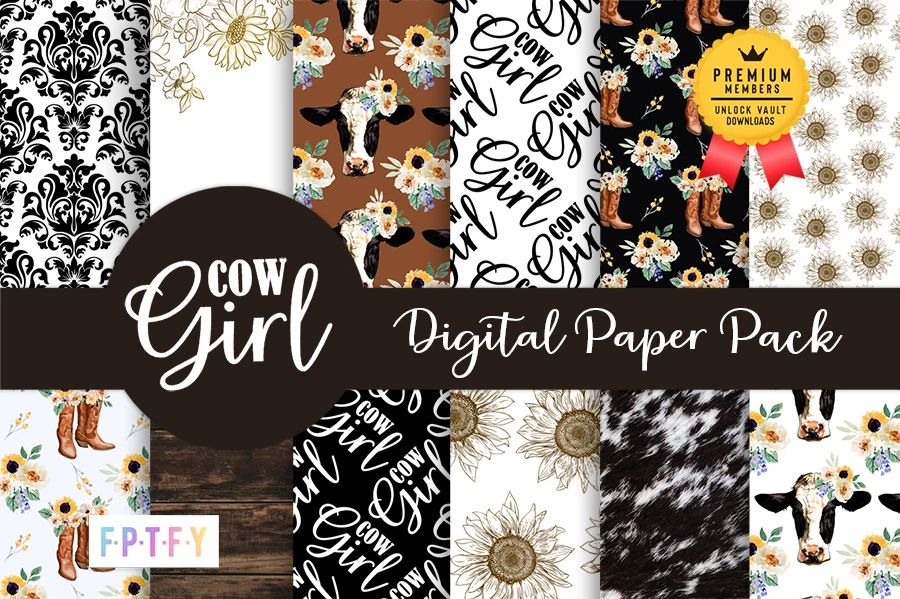
12 Cowgirl Digital Paper
$0.00
6 New York Vintage Rose Junk Journal P...
$0.00
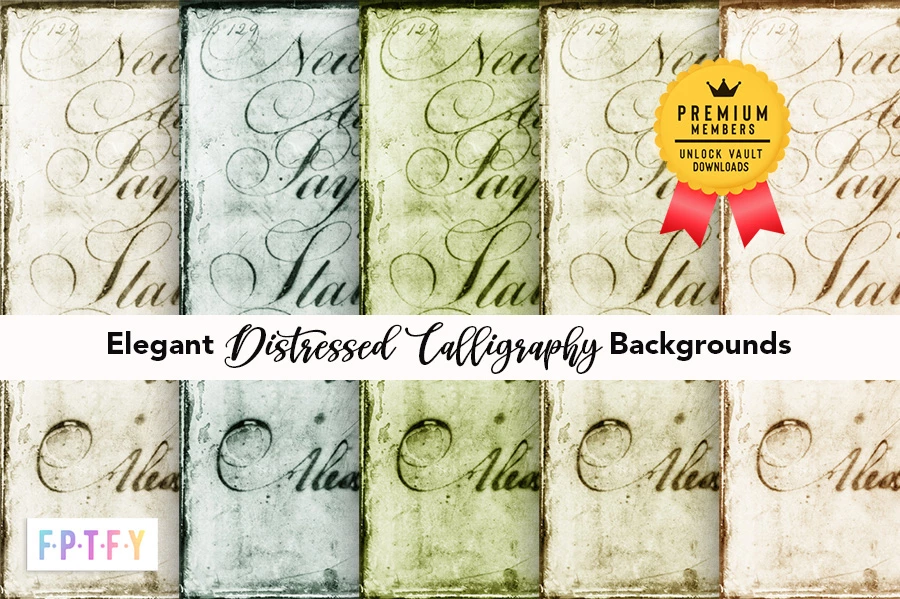
5 Elegant Distressed Calligraphy Backg...
$0.00
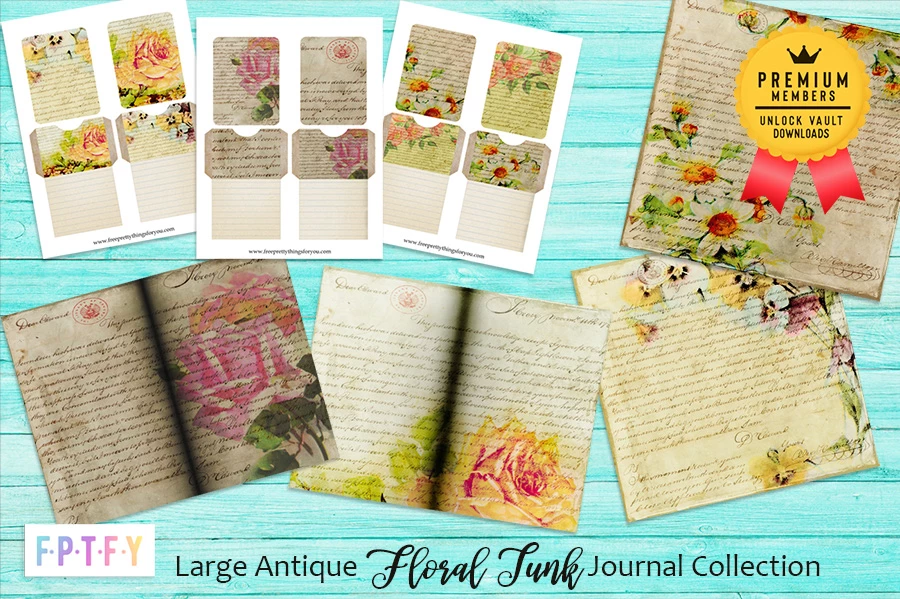
21 Large Antique Floral Junk Journal C...
$0.00
1764 Antique Document Digital Paper
$0.00
Shabby Rose Pink and Teal Digital Junk...
$0.00
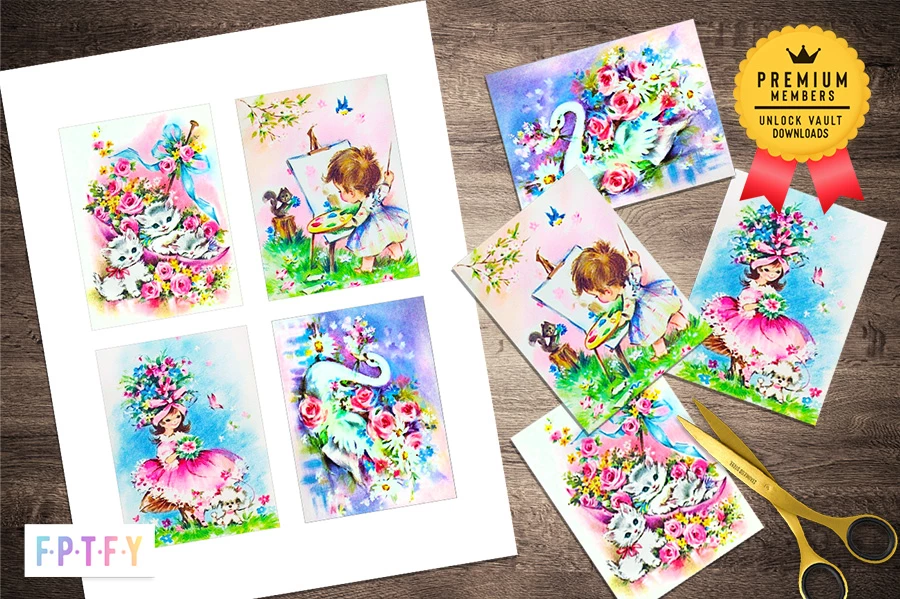
Vintage Kawaii 3×4 images
$0.00
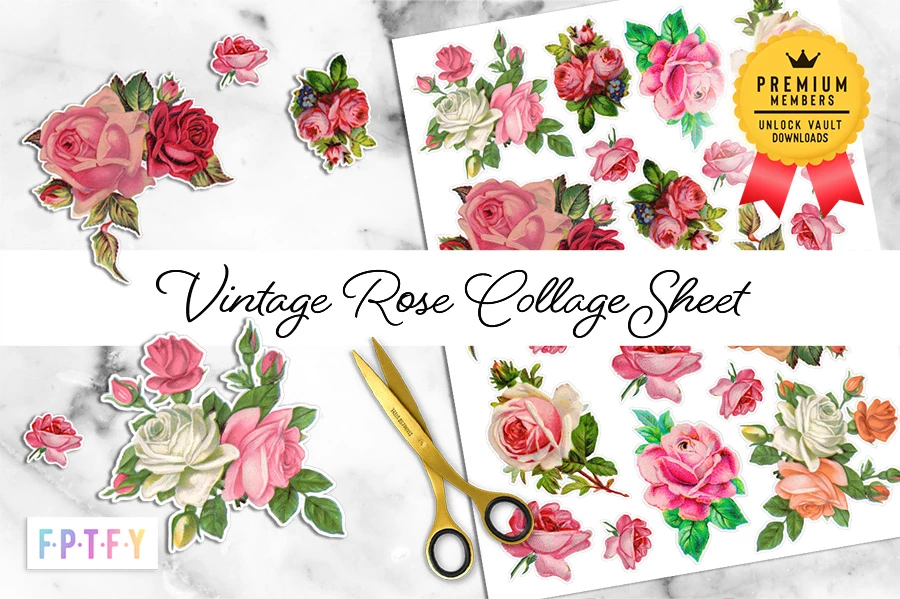
Vintage Rose Collage Sheet
$0.00
14 Shabby Rose Pink and Teal Digital P...
$0.00
ALL PREMIUM VAULT COLLECTIONS HERE